Understanding Pressure Washing
Pressure washing uses a high-pressure water spray to clean surfaces. It is especially effective for hard surfaces like wood, concrete, and siding. When used correctly, it removes dirt, grime, mold, and old paint without causing damage.
Table of Contents
TogglePressure Washer Components:
- Motor: Powers the water.
- Water Pump: Creates pressure.
- High-Pressure Hose: Delivers water to the nozzle.
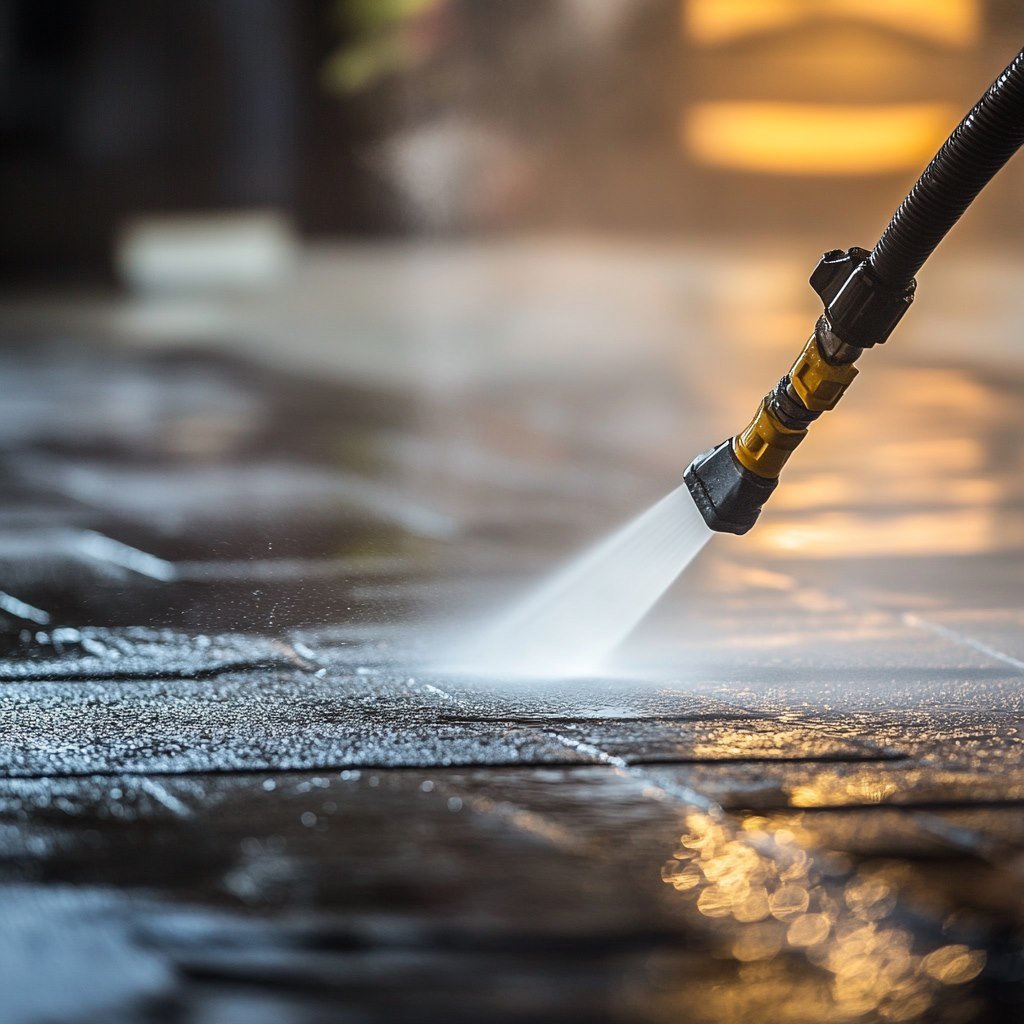
- Nozzle: Controls water spray angle and pressure.
Different nozzles create various spray patterns. Common types include:
- 0-degree (red): High pressure, pinpoint spray.
- 15-degree (yellow): Narrow spray, good for tough stains.
- 25-degree (green): General cleaning.
- 40-degree (white): Wide spray, gentle cleaning.
Using the correct nozzle and technique is crucial. Always start with a wider nozzle and move closer to the fence if needed. This helps prevent damage.
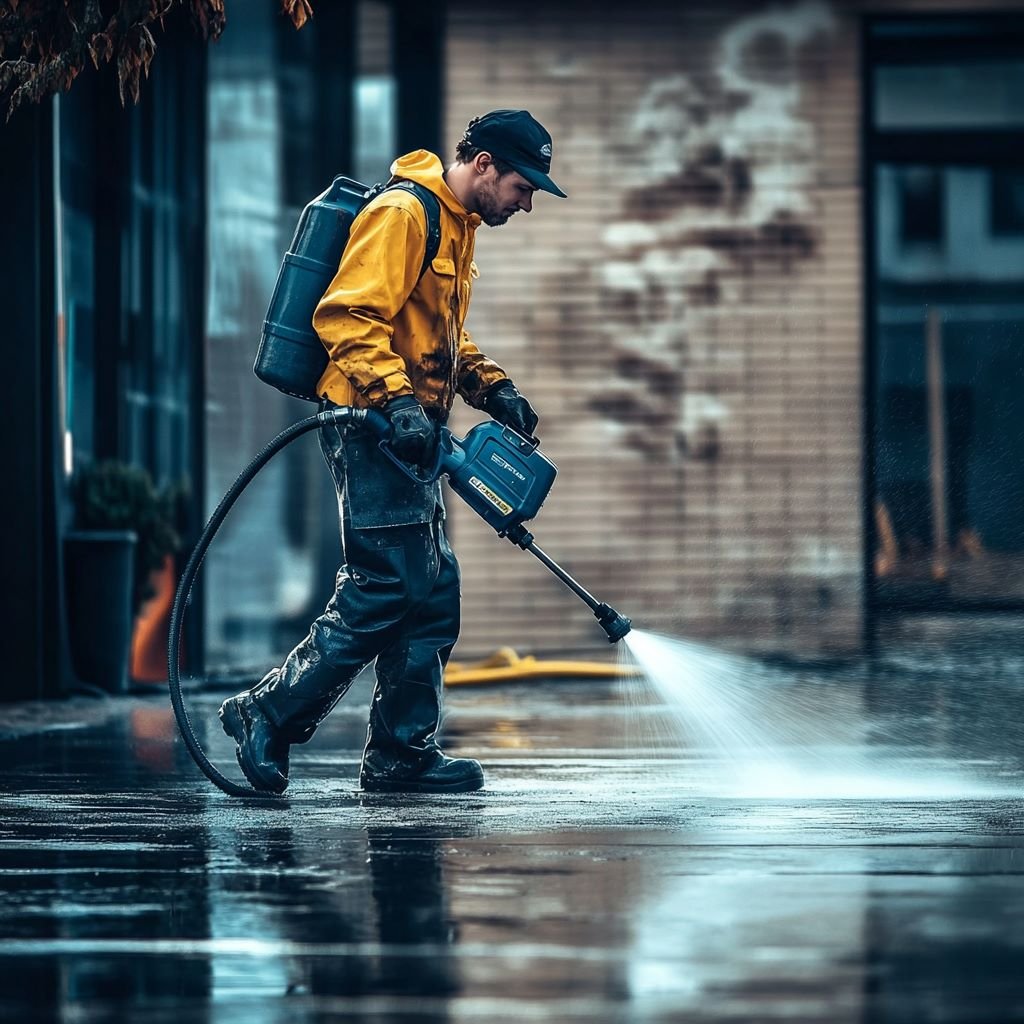
Safety Gear:
- Goggles: Protect your eyes from splashes.
- Ear Protection: Shields ears from noise.
- Gloves: Keep hands safe.
- Boots: Provide foot protection.
Preparation:
- Clear the area around the fence.
- Sweep away large debris.
- Pre-soak tough stains.
- Apply Detergent: Use a low-pressure nozzle.
- Let It Soak: Wait 5-10 minutes.
- Rinse: Use a higher pressure nozzle; work top to bottom.
By following these steps and using the right equipment, you can effectively clean your fence without causing damage.
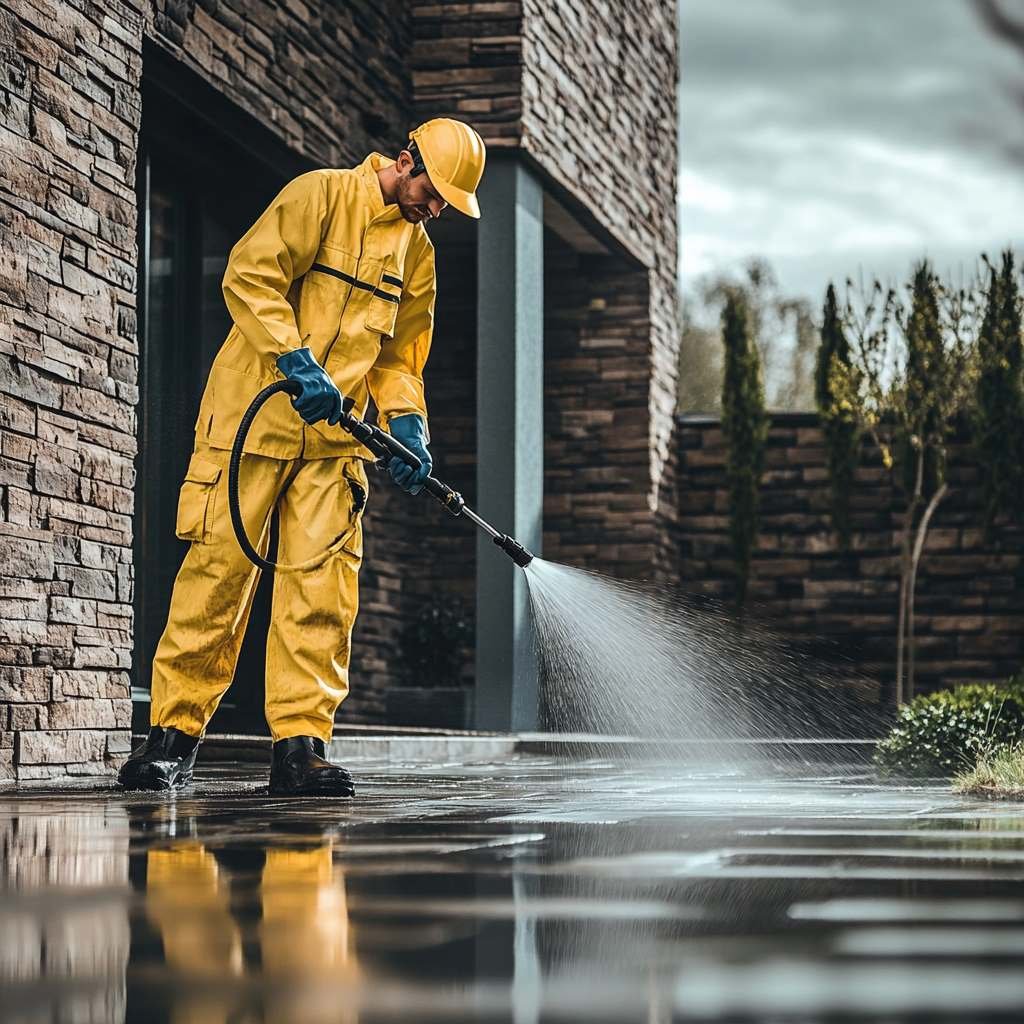
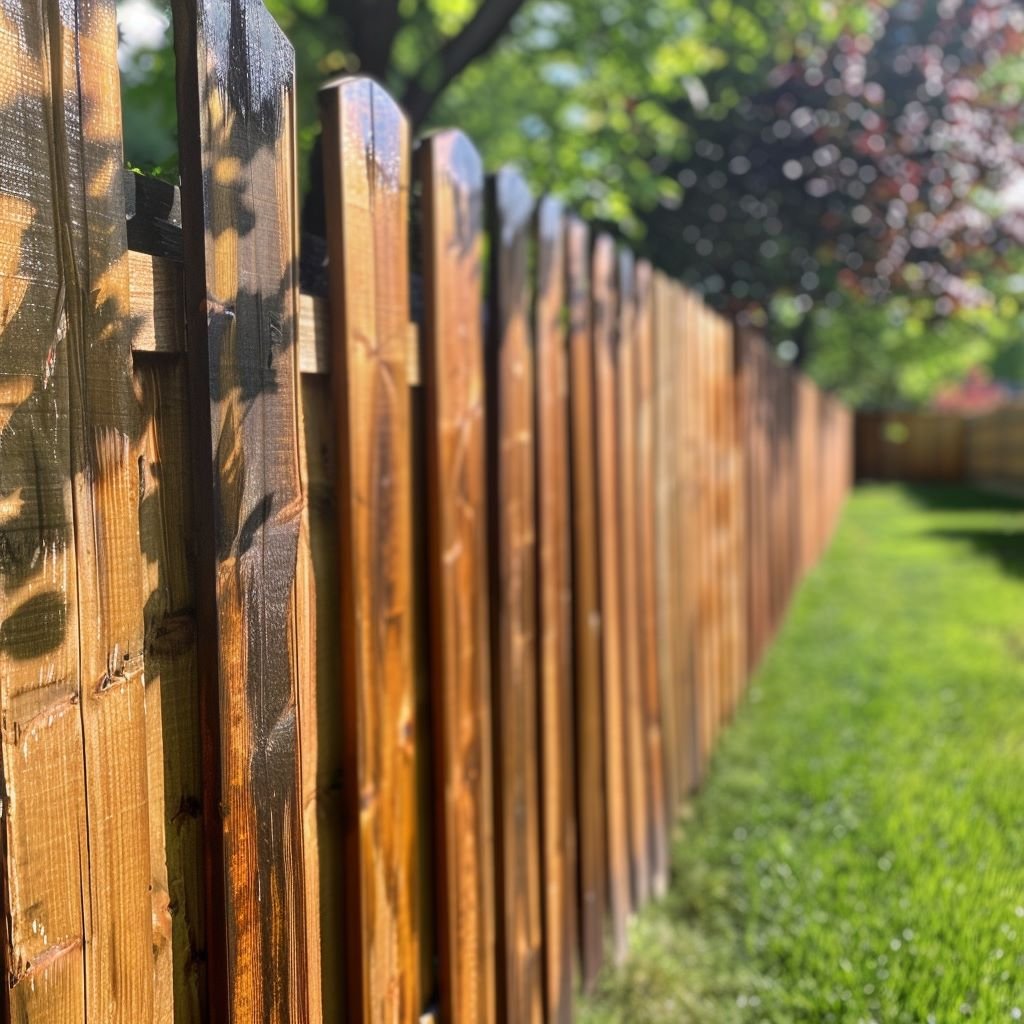
Preparing Your Fence for Pressure Washing

Before you start pressure washing your fence, it’s crucial to ensure safety and select the right equipment. Proper preparation can help you avoid damaging the wood.
Safety Measures
First, wear protective gear like gloves, goggles, and a mask to protect yourself from debris and chemicals. Ensure the area around the fence is clear of obstacles to prevent tripping. Use caution when working with electrical outlets nearby—cover them to prevent water contact.
Check the pressure washer for any damage and ensure it’s in good working condition. Read the manufacturer’s instructions carefully to understand safe operating procedures. If possible, practice using the pressure washer on a small, inconspicuous fence area to get a feel for it.
Equipment Selection
Choose a pressure washer with a pressure setting appropriate for wood surfaces. A pressure range between 500 to 1500 PSI is usually suitable. Select a nozzle with a 25-degree spray angle to balance cleaning power without damaging the wood.
You’ll also need a wood-safe detergent. Attach the detergent to the pressure washer, ensuring it’s designed for pressure washers to avoid clogs. Use a garden hose to wet the fence before applying the detergent. Allow the detergent to loosen dirt for a few minutes, but don’t let it dry out.
Always perform a final check of all your equipment before starting the job. This ensures everything is working correctly and safely.
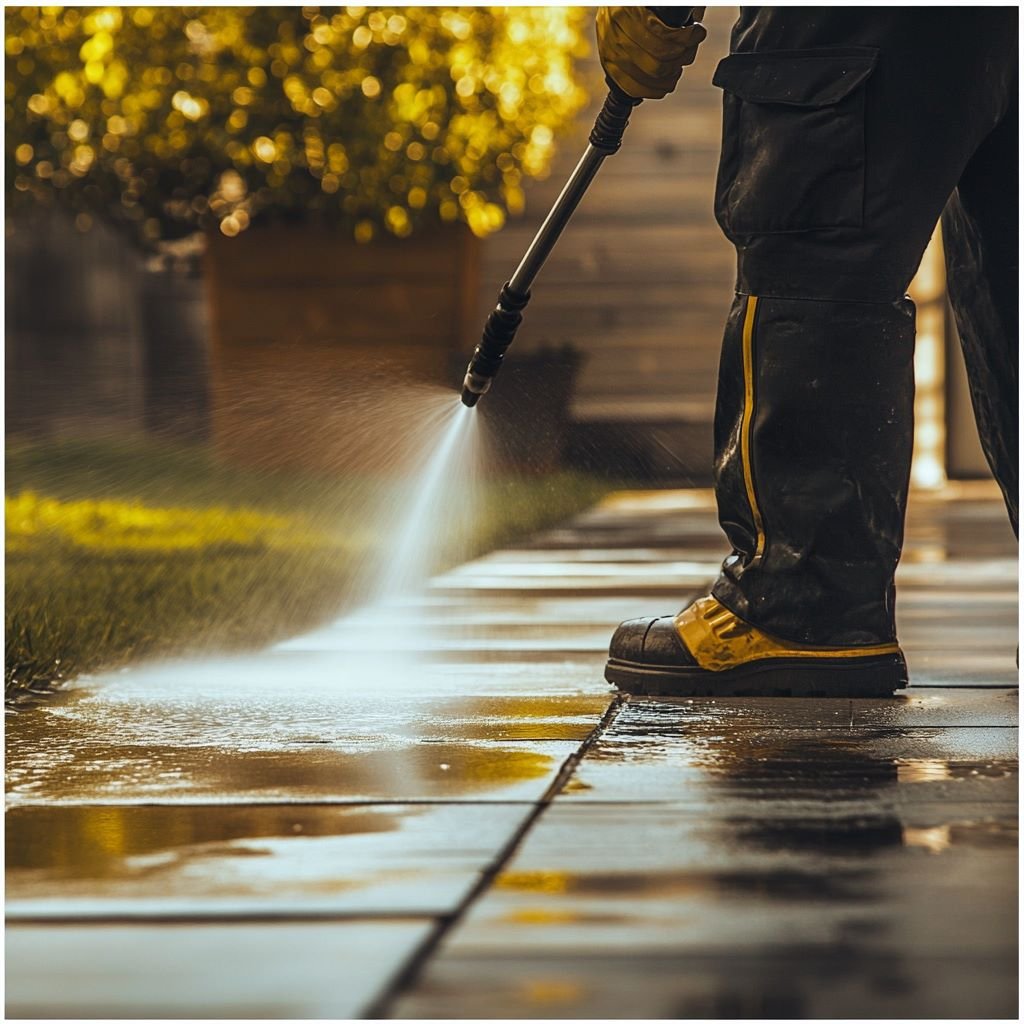
Pressure Washing Technique
To prevent damage while pressure washing your fence, use the right pressure and follow the correct washing patterns. These steps ensure the wood’s longevity and appearance.
Determining the Correct Pressure

Using the correct pressure setting is crucial to avoid damaging the fence. For most wooden fences, a pressure between 500 and 800 psi is safe and effective.
Hardwood fences can handle pressures up to 1200 psi, but always start on the lower end and increase if necessary. Softwoods, like cedar or pine, may require less pressure to avoid gouging the wood fibers.
Before starting, test the pressure on an inconspicuous area to ensure it doesn’t damage the wood. Stand at least two feet from the fence and gradually move closer until you find the optimal distance without harming the surface.
Washing Patterns
Working with the grain of the wood is important to prevent streaks and damage. Begin at the top of the fence and work your way down to avoid streaking and ensure an even clean.
Use overlapping passes to cover all areas evenly. Typically, working on 1 to 2 boards at a time is best.
Hold the pressure washer nozzle at a 45-degree angle to the fence. This angle helps remove dirt and debris without forcing water deep into the wood fibers. Alternate between applying detergent and rinsing it off, allowing it to sit for 5-10 minutes before washing it away.
Make sure to allow the fence to dry completely after washing, which usually takes around 48 hours, before applying any stain or sealer. This step ensures the wood is ready to absorb protective treatments effectively.
Aftercare and Maintenance
Once you’ve pressure washed your fence, it’s essential to maintain it to keep it looking good and prolong its lifespan.
First, let the fence dry completely before applying any sealant or stain. Depending on the weather, this can take about 24-48 hours.
Applying a wood preservative or sealant helps protect your fence from moisture and UV damage. Choose a high-quality, UV-resistant sealant.
Check your fence for cracks or damage. Fix these promptly to prevent further deterioration.
Regularly remove debris like leaves and dirt that can accumulate at the bottom of the fence. This helps prevent moisture buildup, which can lead to mold and rot.
Look for signs of mold or mildew. If you notice any, clean it with a mild bleach solution. Wear protective gloves and a mask when handling bleach.
During fall and spring, inspect your fence. Look for loose boards or nails and make necessary repairs.
Consider occasional touch-ups with paint or stain, especially if your area experiences severe weather.
Here’s a quick checklist for maintaining your fence:
- Seal or stain every 2-3 years.
- Regular inspections for damage.
- Clean twice a year.
- Repair any damages promptly.
Keep plants and shrubs off the fence. Overgrown vegetation can retain moisture and cause damage.
Troubleshooting Common Issues
Uneven Cleaning
If you notice that some sections of your fence look cleaner than others, try adjusting your spraying technique. Maintain a consistent distance from the wall and use even, steady strokes.
Stains That Won't Budge
For stubborn stains, switch to a more concentrated cleaning solution. Mix a solution of water and vinegar, and apply it with a brush. Let it sit for a few minutes, then rinse thoroughly with the pressure washer.
Wood Damage
If you see small splinters or cracks after washing, reduce the pressure. Always test a small, inconspicuous area first. Keep the nozzle at least 2 feet from the fence.
Algae and Mold
If green algae or mold recurs, ensure your fence dries completely after washing. Trim back any plants or bushes that may block airflow, and consider treating your fence with a mildew-resistant sealant.
Equipment Malfunctions
Check the water supply and hoses for blockage if your pressure washer stops working. Make sure the nozzle is not clogged. If the machine still doesn’t work, consult the manufacturer’s manual or seek professional repair.
Incomplete Rinsing
Ensure you rinse the fence thoroughly after applying any cleaning solution. Leftover cleaner can damage the wood over time. Use a low-pressure setting to gently but effectively rinse away all residues.
Frequently Asked Questions
For softwood fences like pine or cedar, use between 500 and 800 PSI. For hardwood fences like oak or mahogany, do not exceed 1,300 PSI. Avoid using pressure higher than 1,800 PSI on wooden fences to prevent damage to the wood fibers.
Apply detergent on the fence and soak for 5 to 10 minutes. Rinse using a 25-degree nozzle. Work top to bottom to avoid streaks. Let your fence dry at least 48 hours before staining or sealing.
Use a 25-degree nozzle for most cleaning tasks as it balances pressure and area coverage. For pre-rinsing, a 40-degree nozzle tip helps wet the surface without causing damage. Always hold the washer at a slight angle and use sweeping motions.
Yes, pressure washing can remove paint. Use a higher pressure setting, but stay within safe limits for your wood type. Begin with a 25-degree nozzle and maintain a distance of about 12-18 inches from the surface. Work in small sections and overlap passes for uniform results.
Use a wood-safe detergent or cleaner specifically designed for pressure washers. Apply the solution with a 25-degree nozzle and soak for 5 to 10 minutes before rinsing. Avoid using bleach or other harsh chemicals that can damage the wood.